- Related articles
- Optical Transceivers for Cisco SG350XG-24T-K9-UK Switch
- What Is GYTA33 Optical Fiber Cable?
- Optical Transceivers for Cisco WS-C3650-48TD-E Switch
- All Cisco MA-SFP-1GB-LX10's information (List price, Specs, Datasheet PDF, Compatibility m
- All Cisco GLC-T's information (List price, Specs, Datasheet PDF, Compatibility matrix)
- Used in 10GBASE-LRM Standard optical transceiver models
- Optical Transceivers for Cisco N3K-C3548P-10G= Switch
- All Cisco CWDM-GBIC-1470's information (List price, Specs, Datasheet PDF, Compatibility ma
- All Cisco CWDM-GBIC-1610's information (Specs, Datasheet PDF, Compatibility matrix)
- All Cisco CWDM-SFP-1570's information (List price, Specs, Datasheet PDF, Compatibility mat
Recommend tag
How to install 40G QSFP+optical module?
2024-10-28
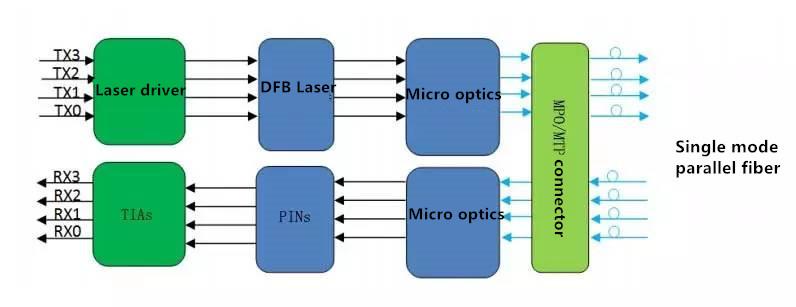
The 40G QSFP+optical module is a hot swappable optical module with four independent optical signal transmission and reception channels, mainly used for short-range data transmission of switches, routers, and data center equipment. Due to the higher density of 40G QSFP+optical modules compared to 10G SFP+optical modules, more and more people have been using this type of optical module in recent years. However, do you really know how to install 40G QSFP+optical modules?
Due to the fact that QSFP+optical modules are static sensitive devices, we always need to wear anti-static wristbands or similar grounding devices when installing QSFP+optical modules. In addition, the QSFP+optical module has either a loop latch or a pull tab latch, so this article provides installation procedures for two types of latches.
Wear the anti-static wristband on the correct grounding point on the hand or rack;
Remove the QSFP+optical module module from its protective packaging;
Check the labels on the appearance of the QSFP+optical module and confirm that the model of the optical module is correct.
Remove the light hole dust plug from the QSFP+optical module and place it aside.
Installation of optical module with bail buckle:
A: Align the QSFP+optical module vertically with the slot.
B: As shown in the figure below, align the QSFP+optical module with the slot and carefully slide the QSFP+optical module into the slot until it is fully in contact with the slot.

Installation of QSFP+optical module with pull tab:
A: Grasp the optical module and make the label face up.
B: Align the QSFP+optical module with the slot and carefully slide it into the operation until the optical module is fully in contact with the slot.
As shown in the figure below, use your thumb to hold down the exposed part of the QSFP+optical module and fully secure it in the slot.


TECHNICAL SUPPORT
Get solutions or consultation from the technical team.


